


How to Make a Petite Stacked Silver Necklace with Pure .925 Sterling Silver
Learn how to create a stunning petite stacked sterling silver necklace with our .925 sterling silver kit. Step-by-step techniques for beginners and...

Petite Gems of the Earth Bracelet Kit
Pickup currently not available

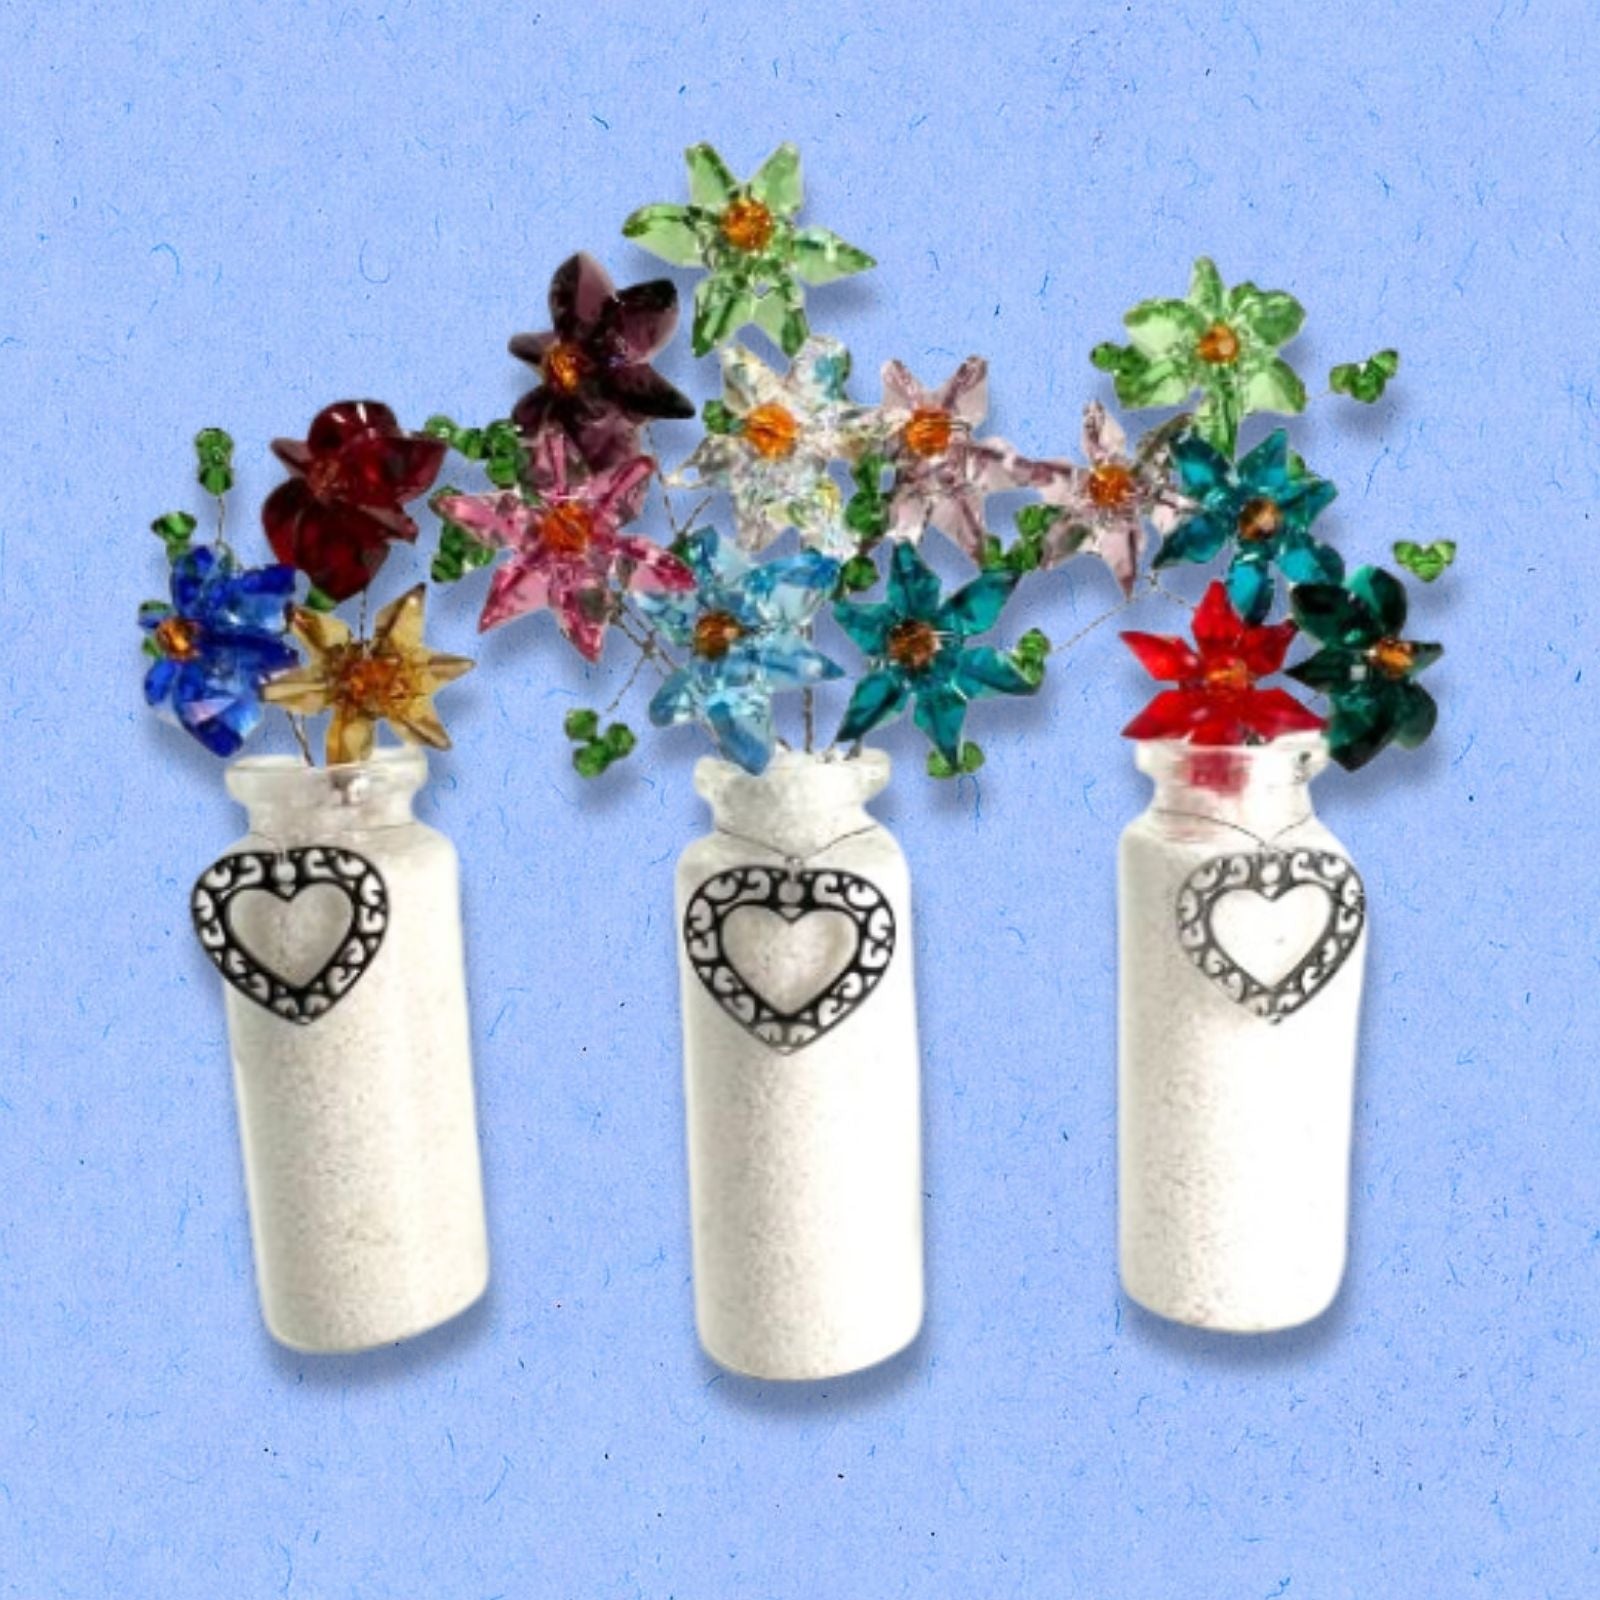
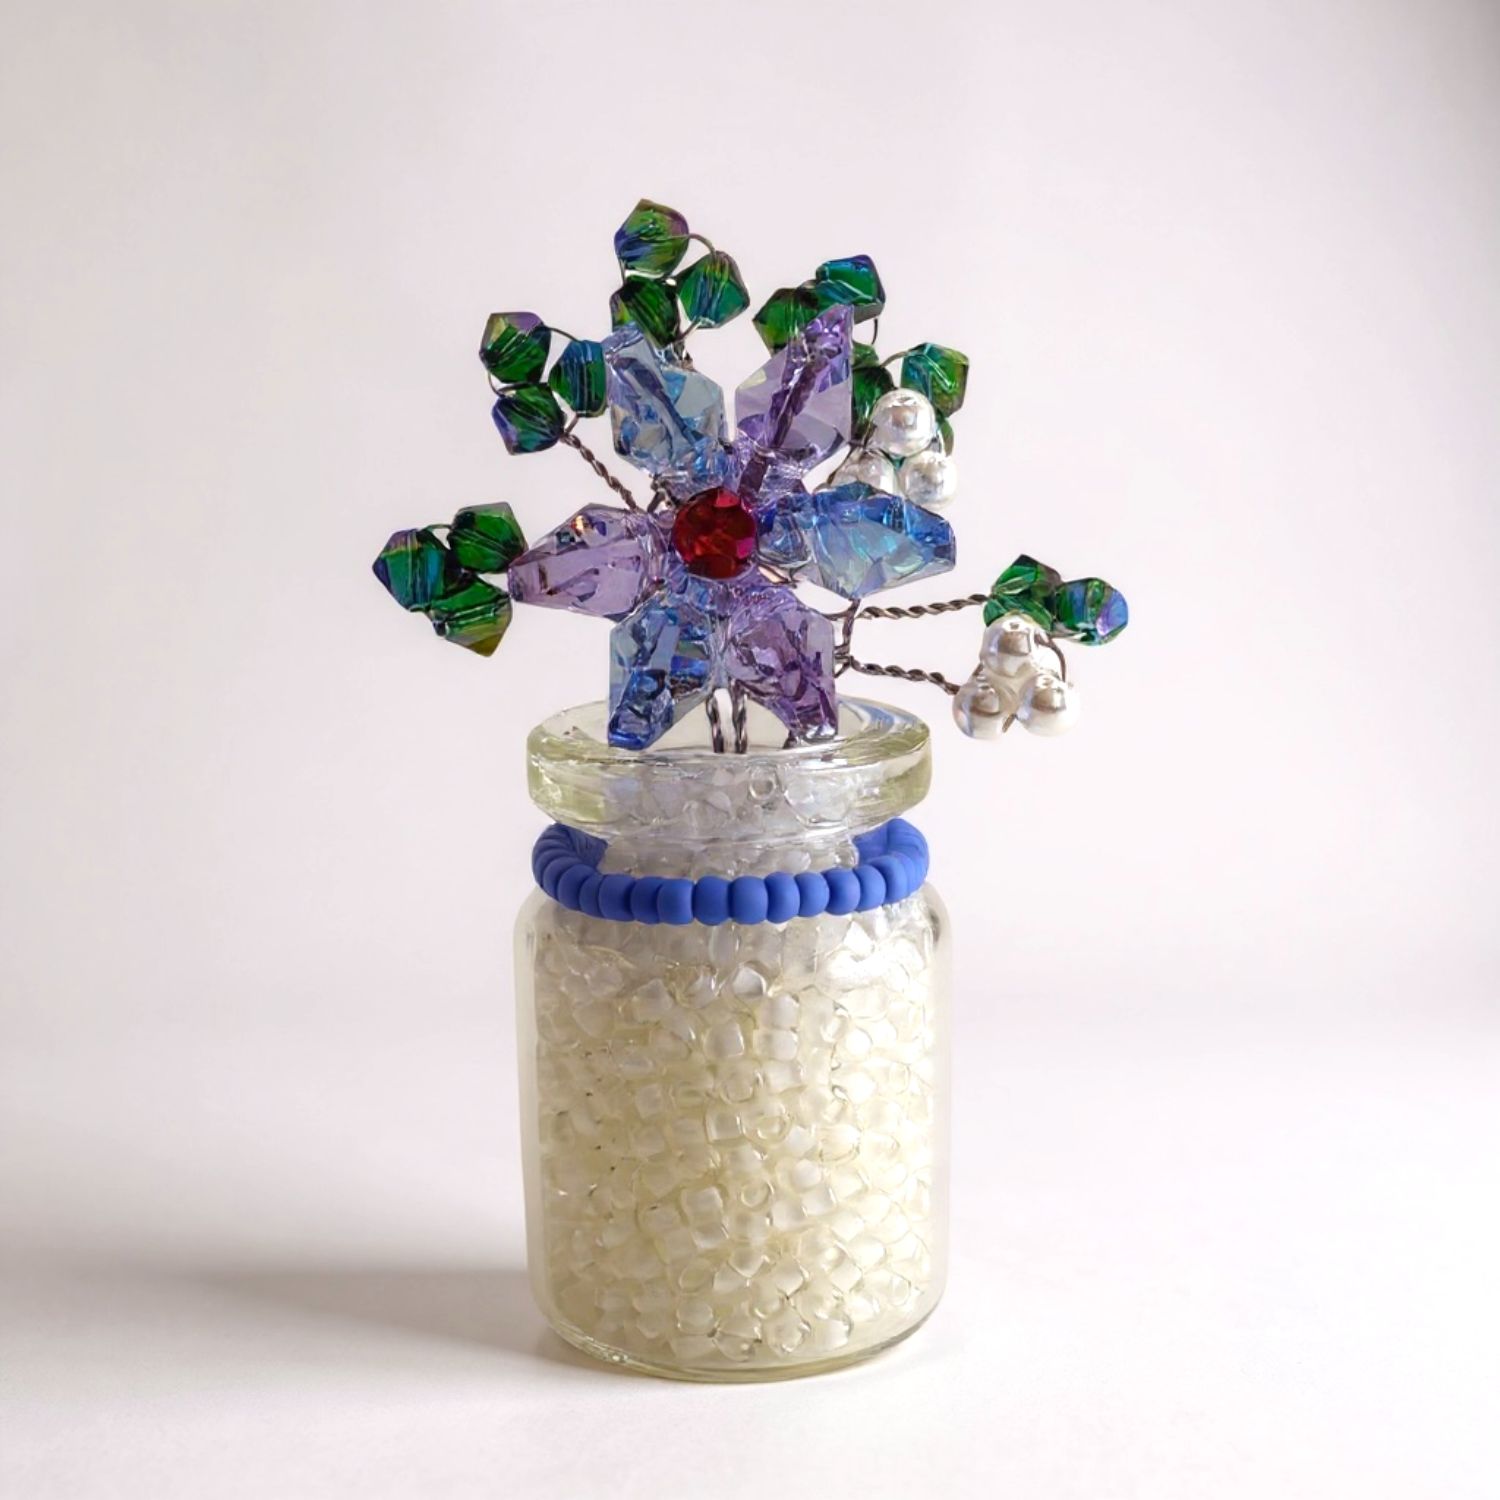
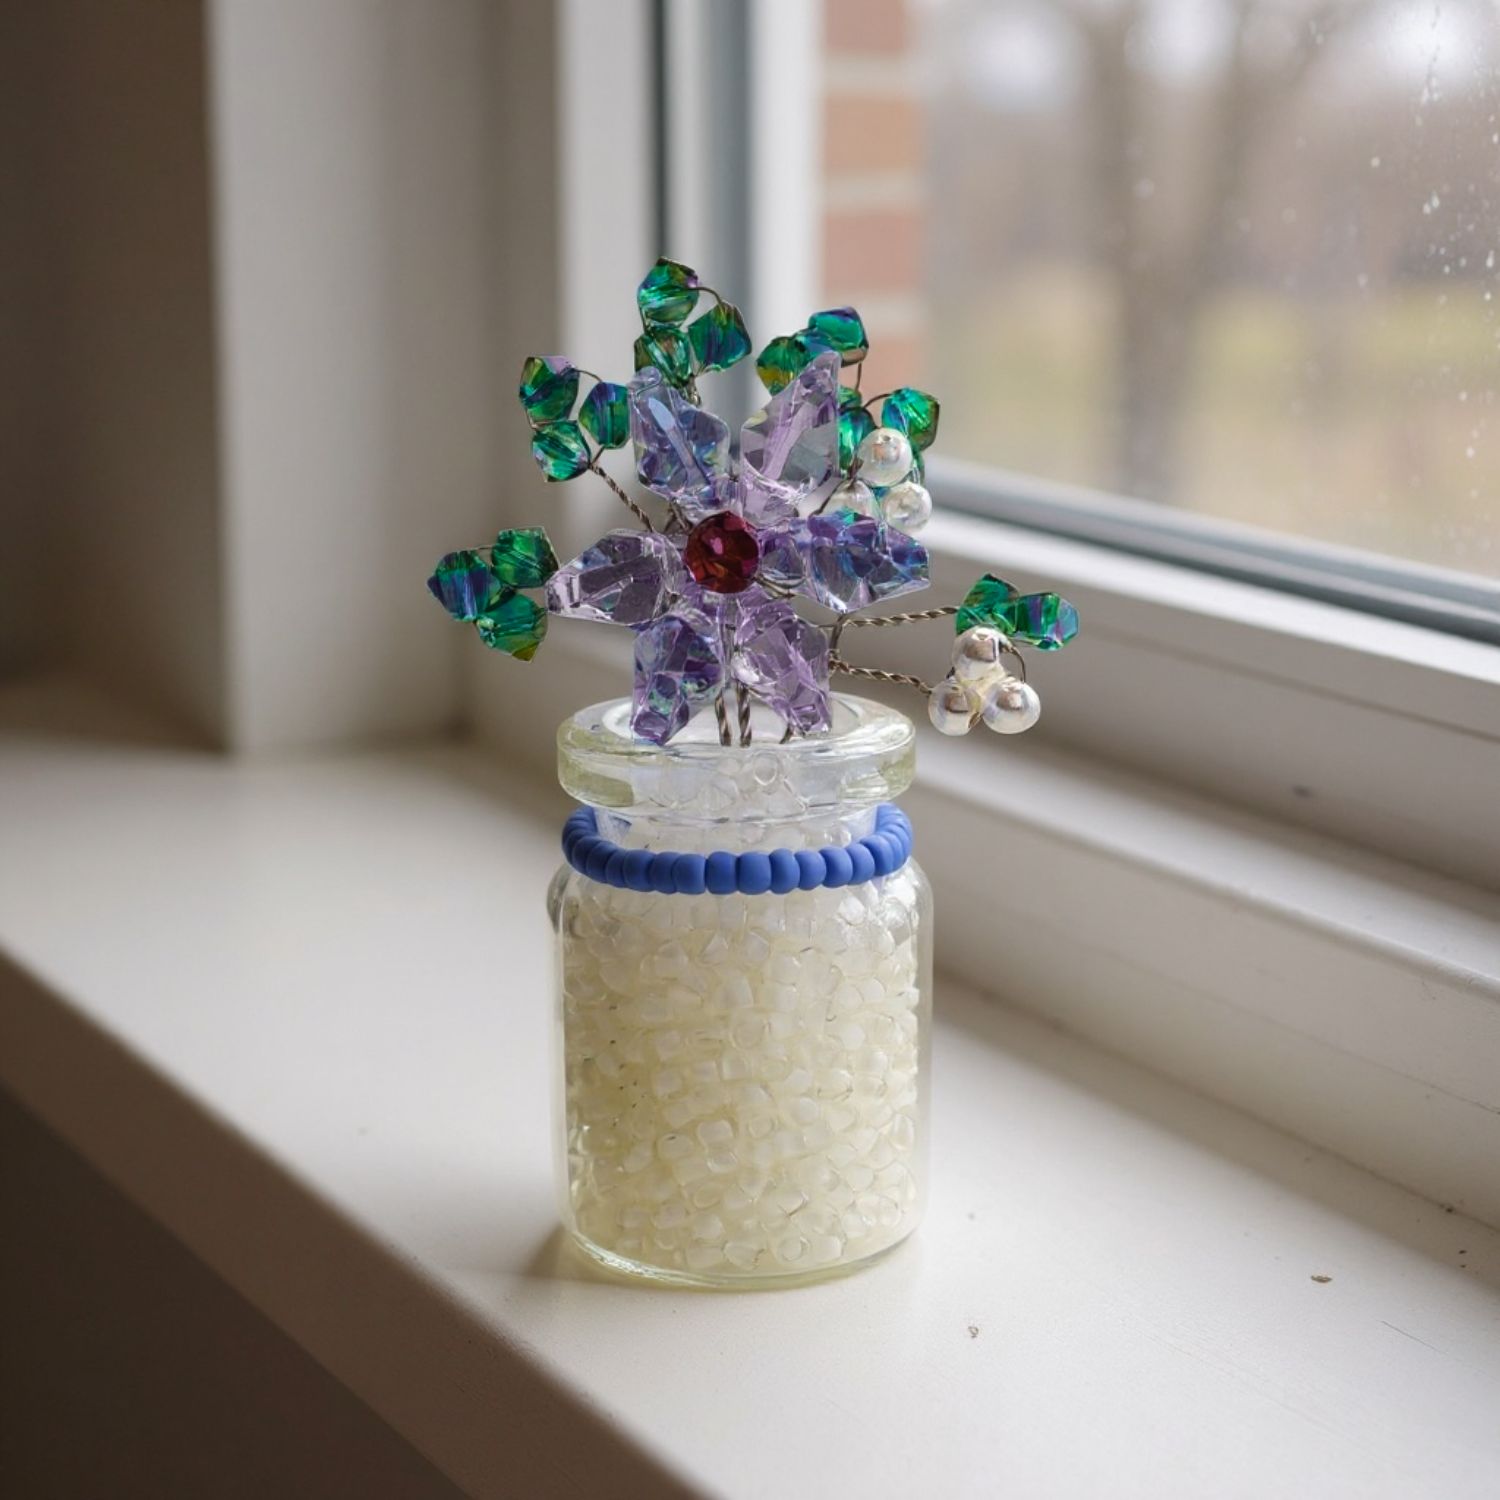
DIY Crystal Flower Kits in Birthstone Colors.
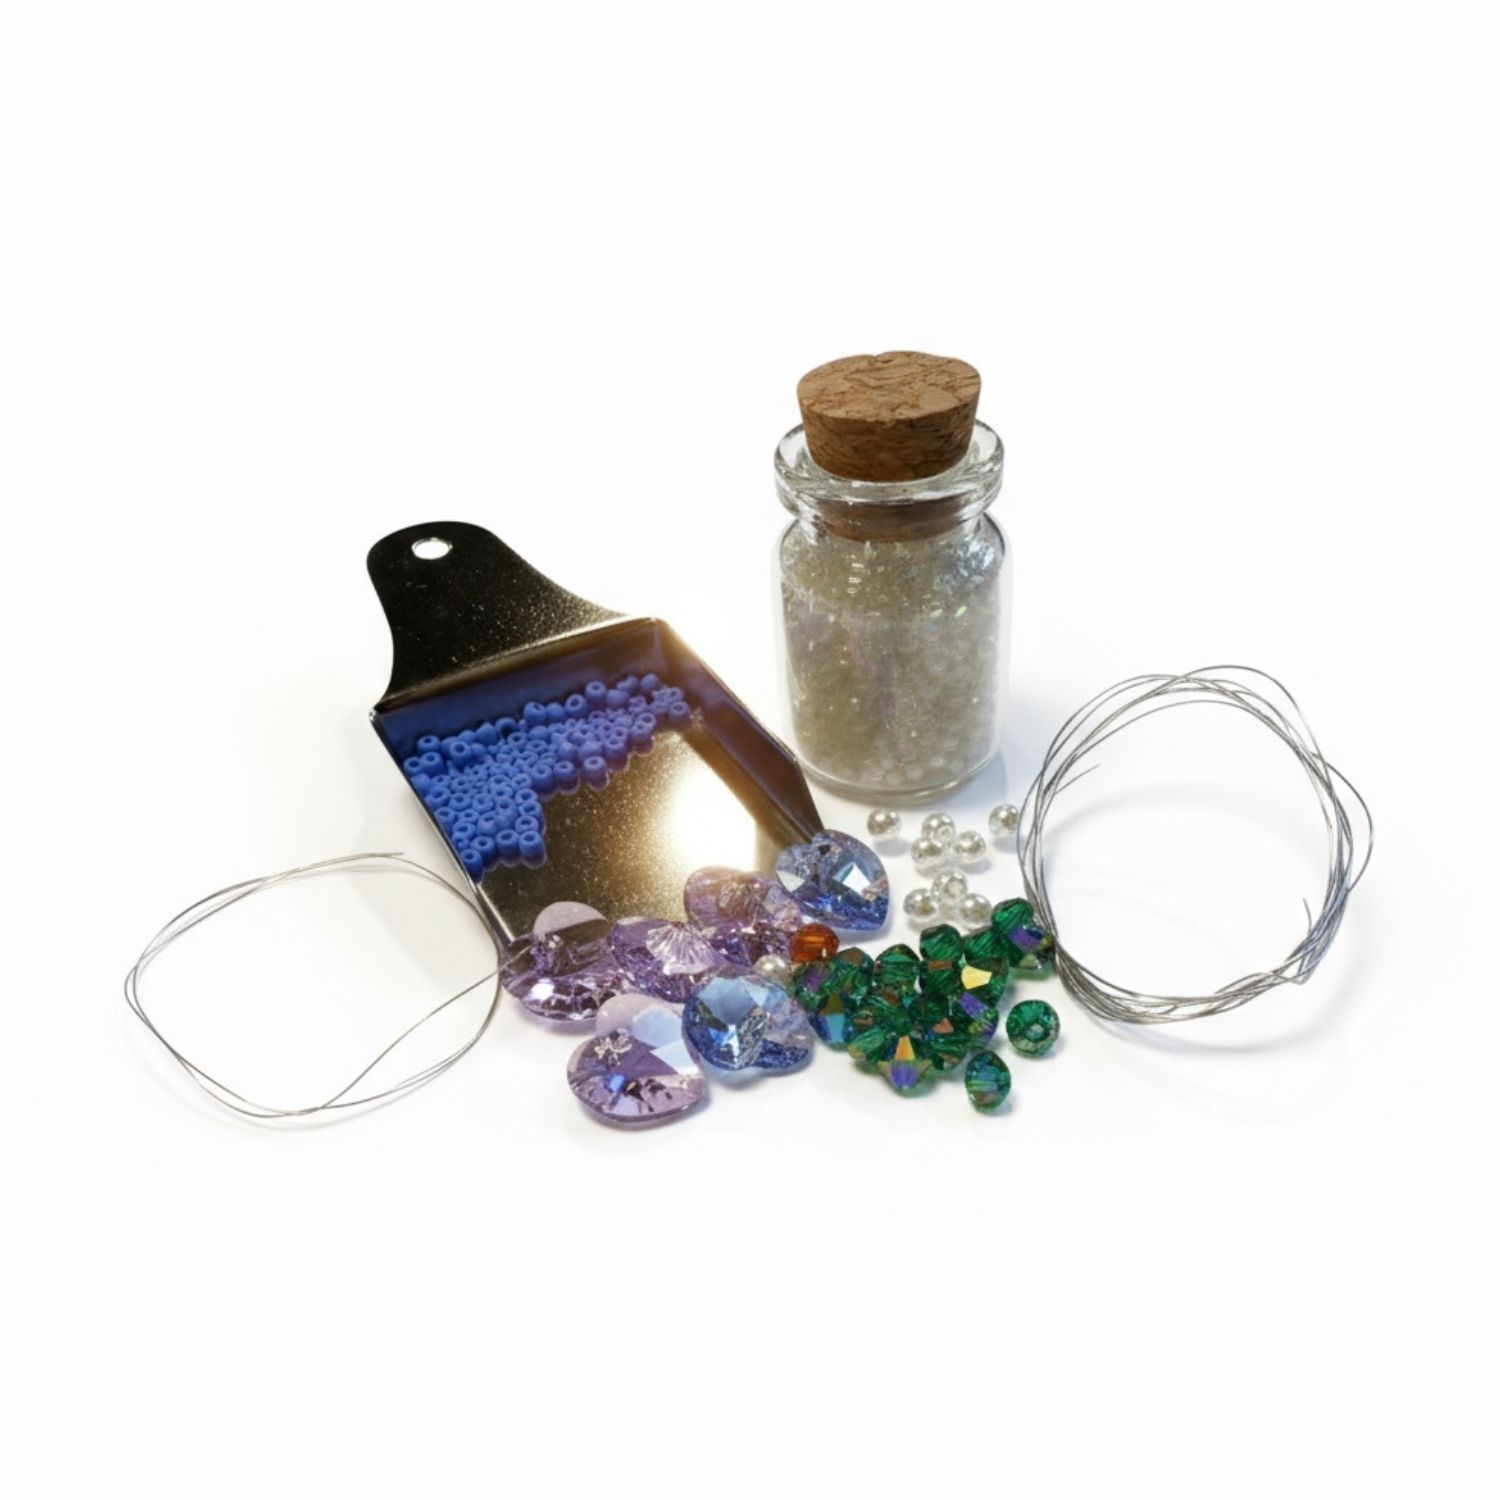
Create a sparkling, everlasting bouquet with our Build a Bouquet Crystal Flower Kits, a unique jewelry-making experience from Too Cute Beads! Perfect for a personalized gift or a stunning keepsake, this collection lets you craft a bouquet of up to 12 crystal flowers in dazzling birthstone colors. Start with our base kit—which includes a small vase, wire stems, and instructions—then choose your Swarovski crystal flowers birthstone colors.

Let this adorableBeaded Purse Keychain Tether Kitbring a little extra magic to your everyday carry! This sweet tether clips securely to your handbag, backpack, or tote with a sturdy silver-tone carabiner, keeping your keys dangling within easy reach while a cascade of dazzling crystalsand gold filled accents shimmer with every step.

Let this adorable Beaded Purse Keychain Tether Kit bring a little extra magic to your everyday carry! This sweet tether clips securely to your handbag, backpack, or tote with a sturdy silver-tone carabiner, keeping your keys dangling within easy reach while a cascade of dazzling crystals and sterling silver accents shimmer with every step.

Beginners Crystal Flower Kit
Beginners DIY Crystal Flower Kit featuring popular Crystal components.
If you're new to crafting crystal flowers, the Crystal Creations Beginner Flower Kit from Too Cute Beads is your perfect introduction! Tthis easy DIY kit guides first-time crafters through creating a stunning crystal flower using simple wire twisting and beading techniques—no experience needed. Complete your first masterpiece in under 30 minutes, ideal for home accents, seasonal displays, or sharing with loved ones!
Karen and John started Too Cute Beads from a humble mall kiosk in 2001. After discovering people were more interested in the beads than the jewelry, they transformed their business into a beloved bead destination. When a devastating storm in 2015 destroyed their store, they rebuilt with determination and heart, emerging stronger than ever.
Our Mission
To empower people to create their own beautiful jewelry with high quality materials at an affordable price.


Choose from 12 birthstone colors
Birthstone Angel Sun Catcher Kits
Add a touch of sparkle and personal meaning to your space with the Birthstone Angel Suncatcher Kit from Too Cute Beads, now available in all 12 birthstone colors to reflect your special month.
Crafted with high-quality components, including radiant Swarovski crystals for the angel wings, clear crystal accents, and silver heart-shaped elements, this kit lets you create a stunning suncatcher that captures the light beautifully. Choose a birthstone color that resonates with you or a loved one, from January’s deep red to December’s vibrant blue, and customize your angel to perfection.

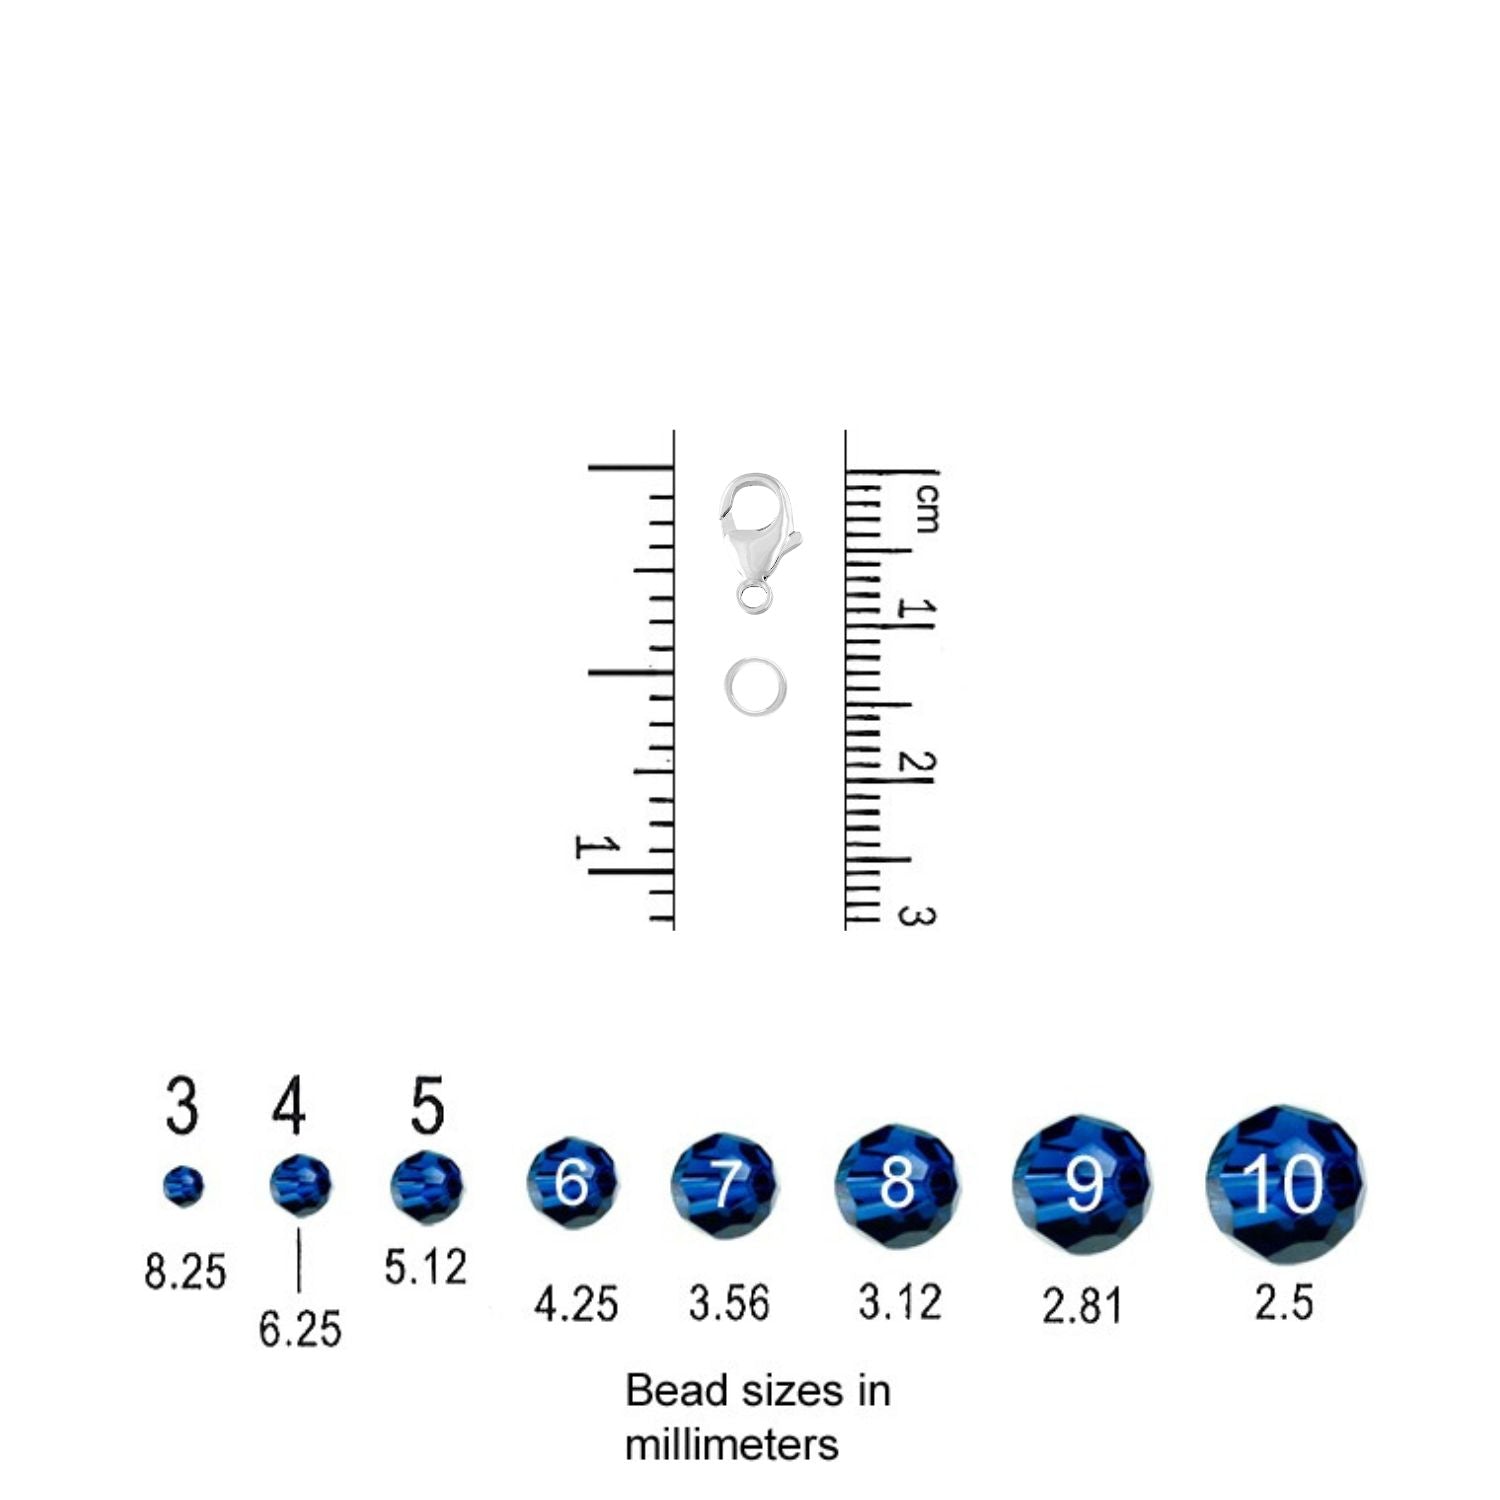
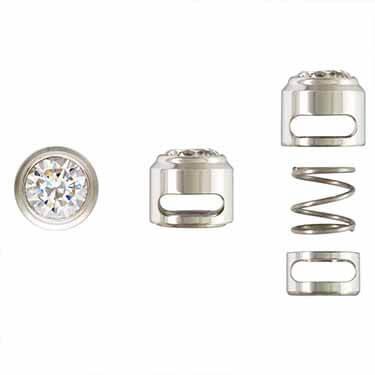
Step into the enchanting world of Wicked with the Wicked Crystal Earring Kit from Too Cute Beads! This kit features an elegant blend of Jet black and rose pink Swarovski crystals, capturing the iconic friendship of Elphaba and Glinda. Paired with .925 sterling silver accents and premium Squaredells, these earrings sparkle like the Emerald City itself.


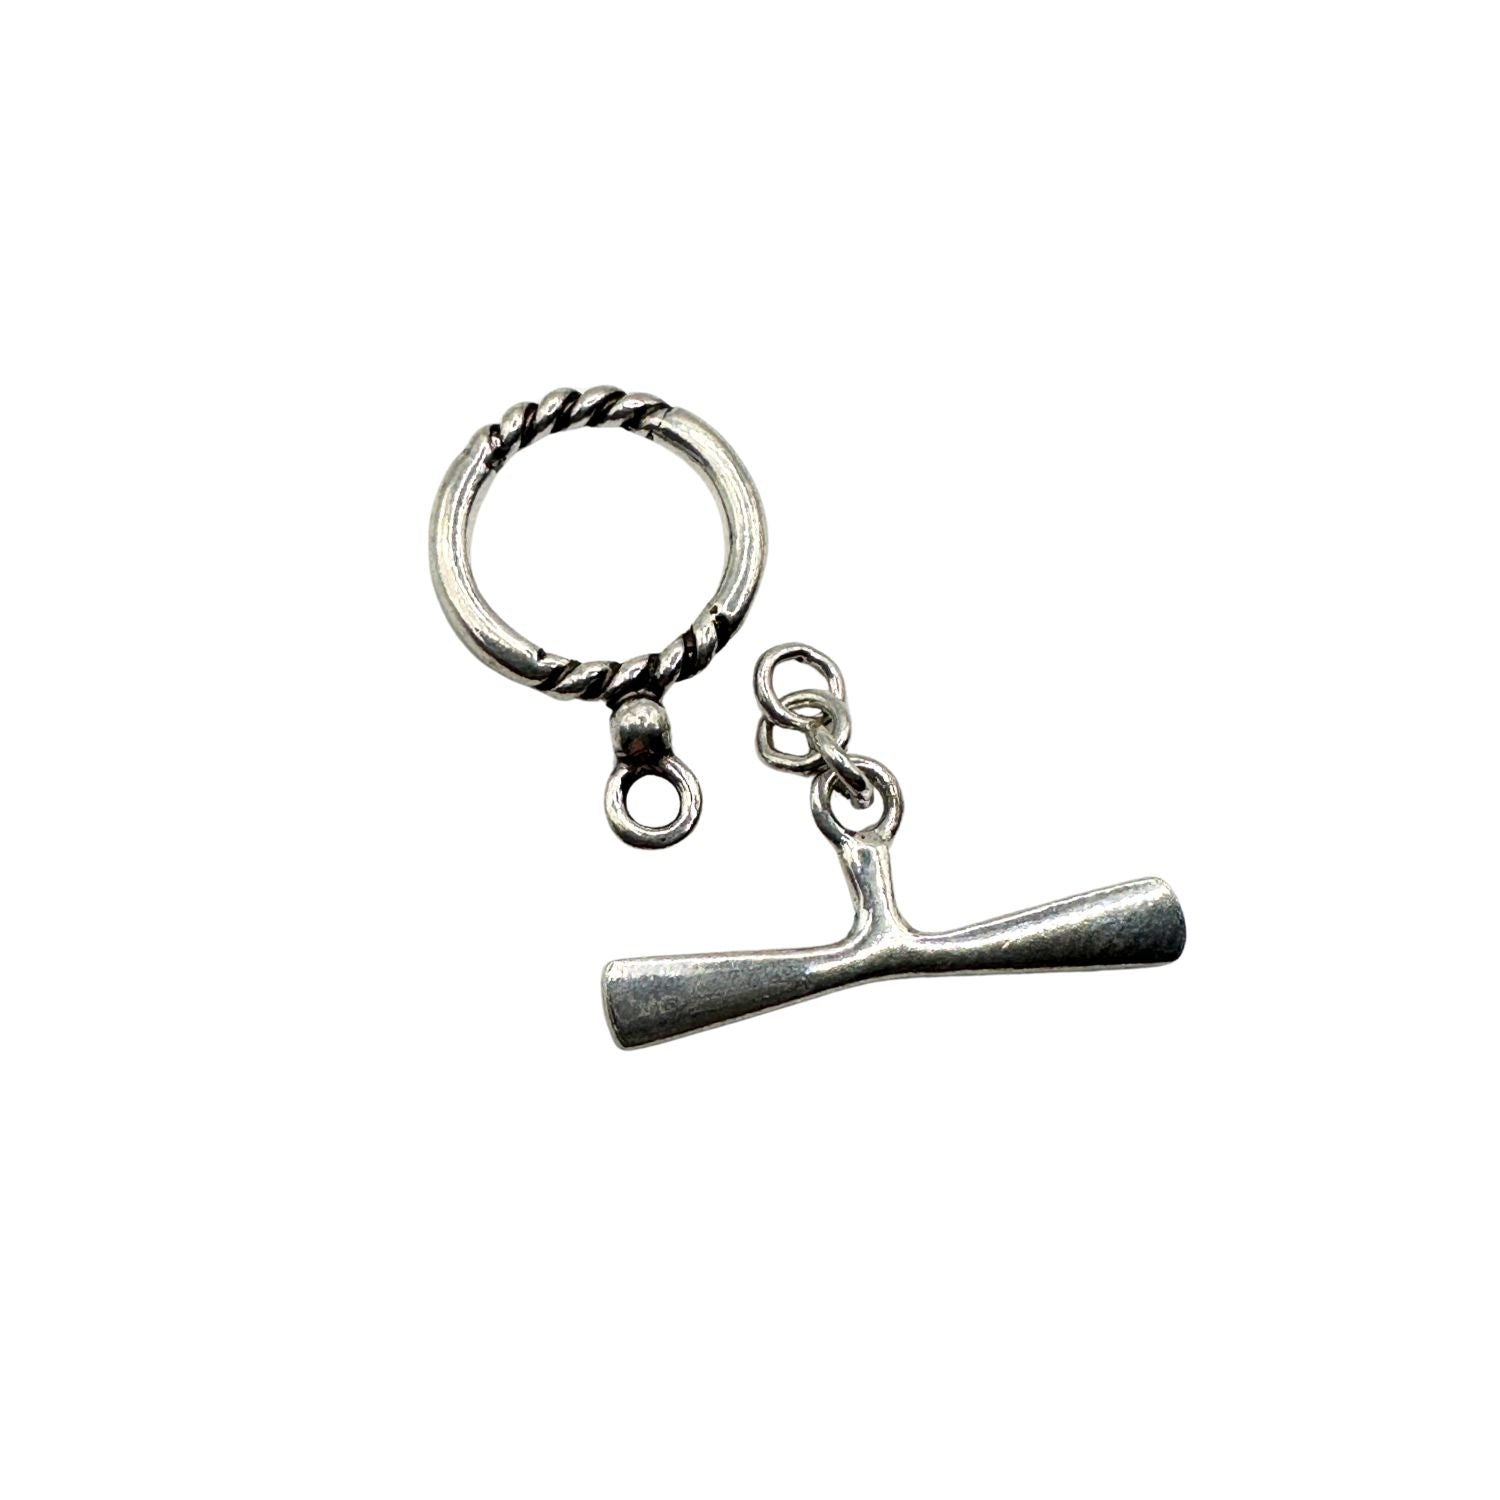
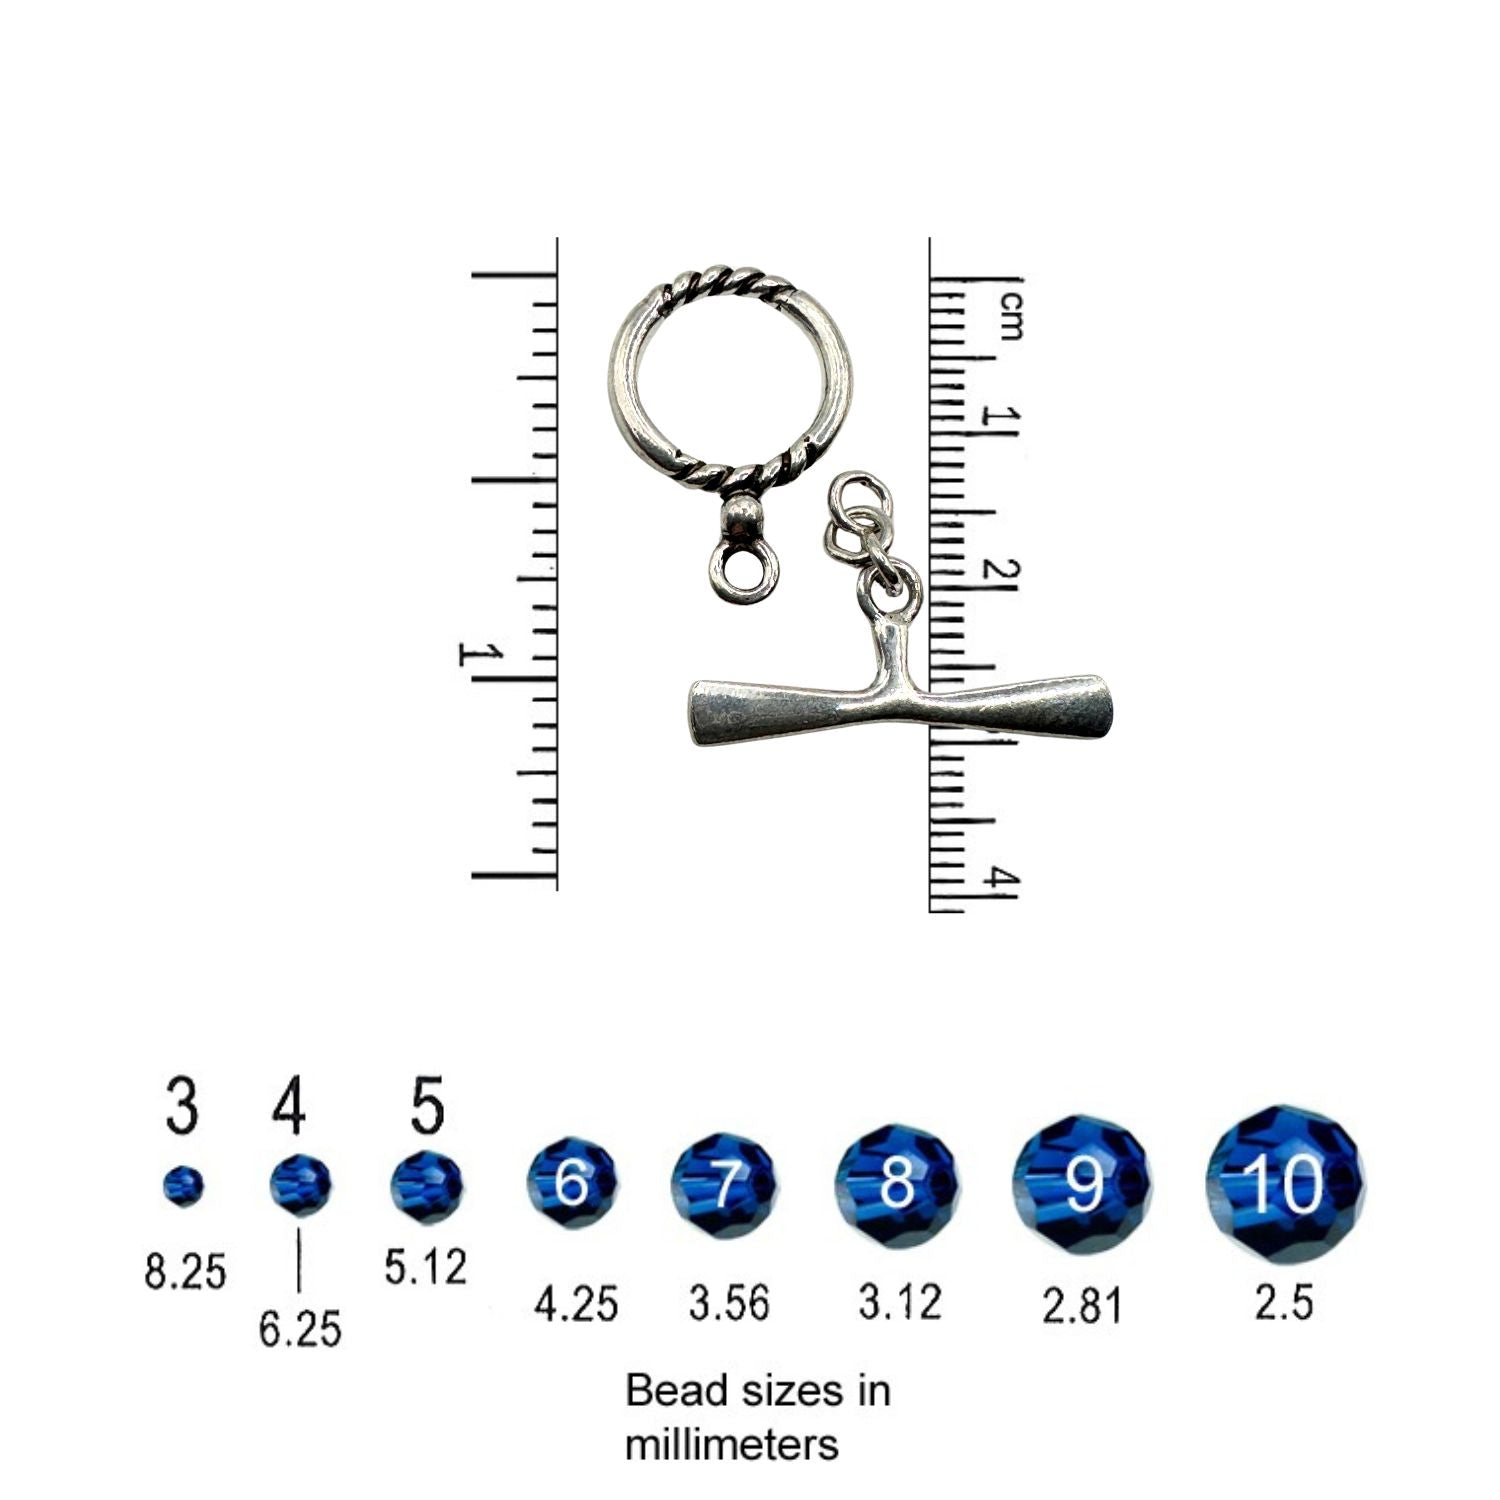
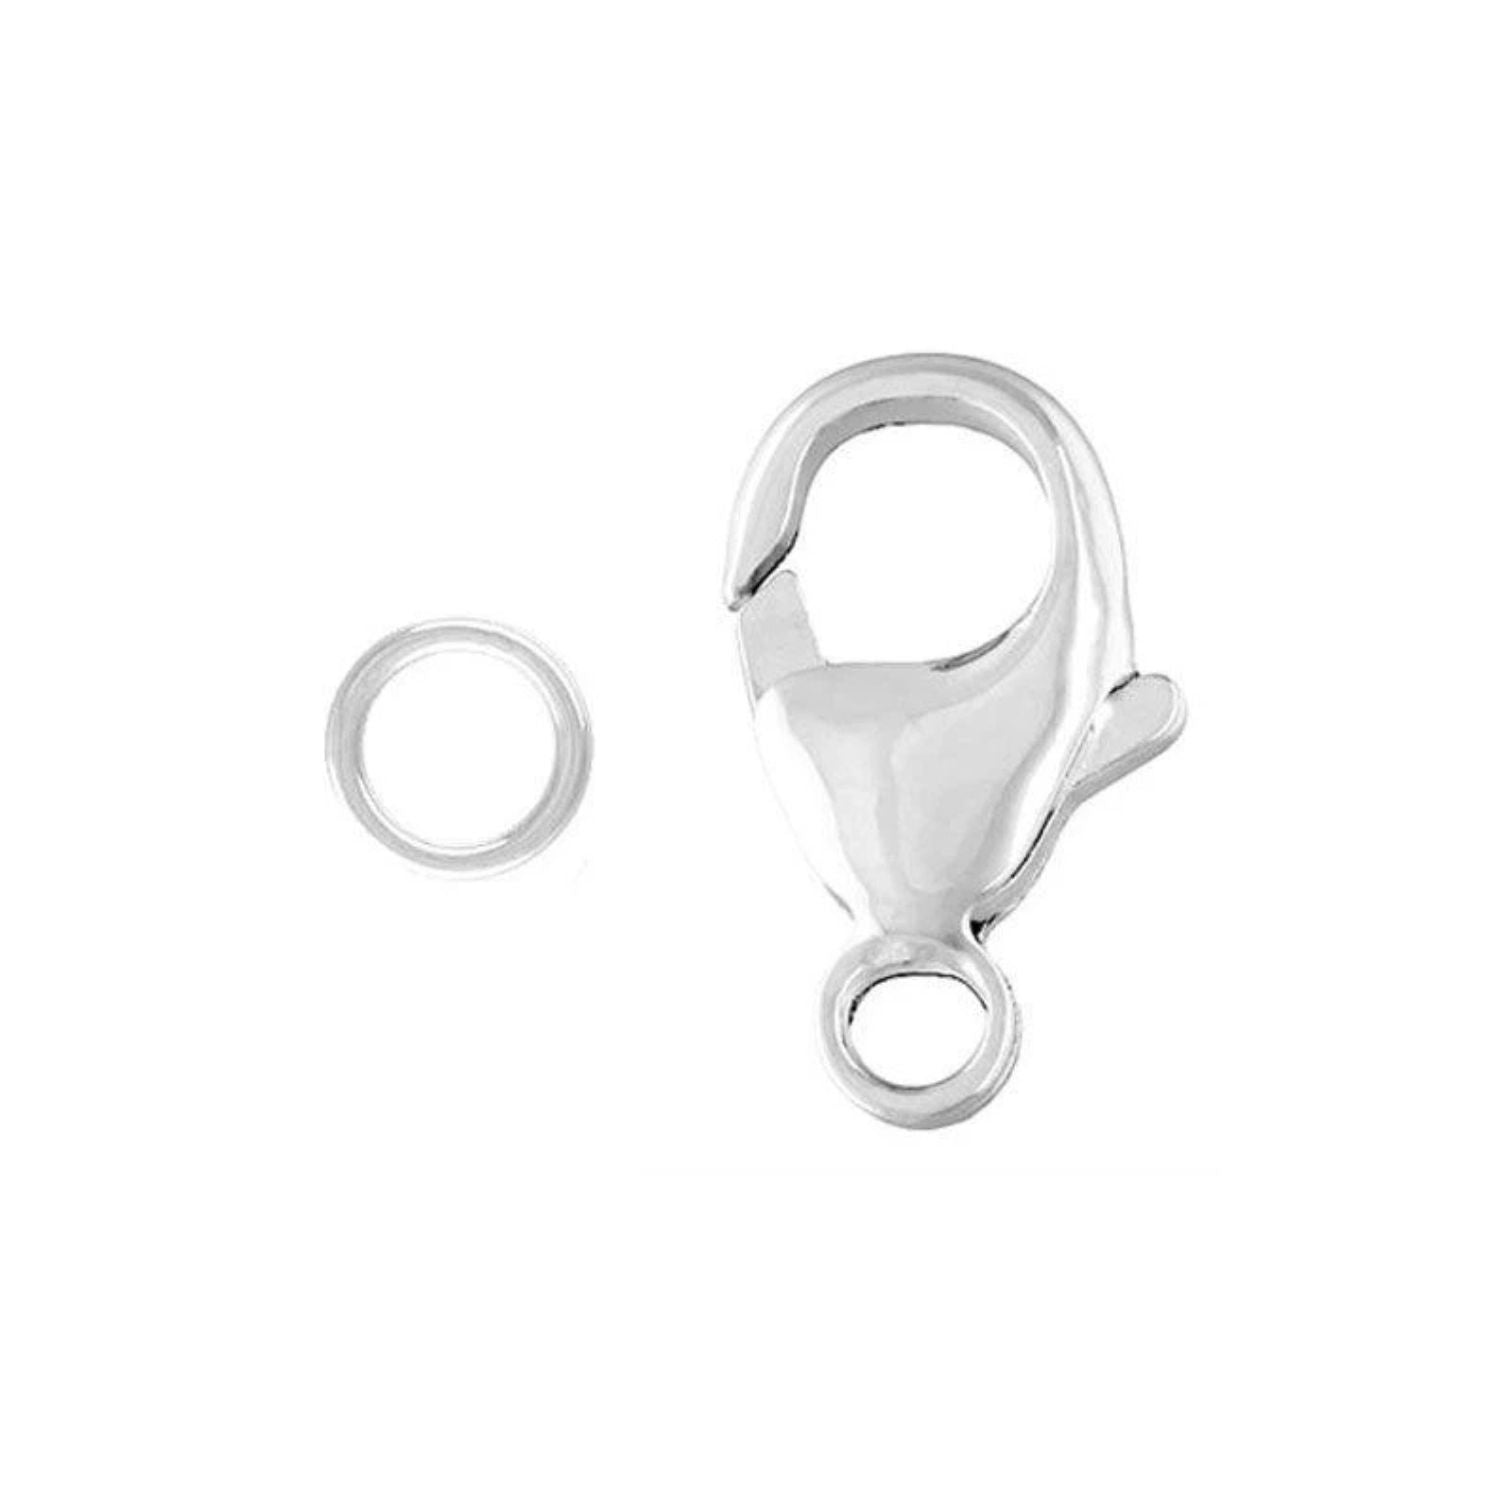
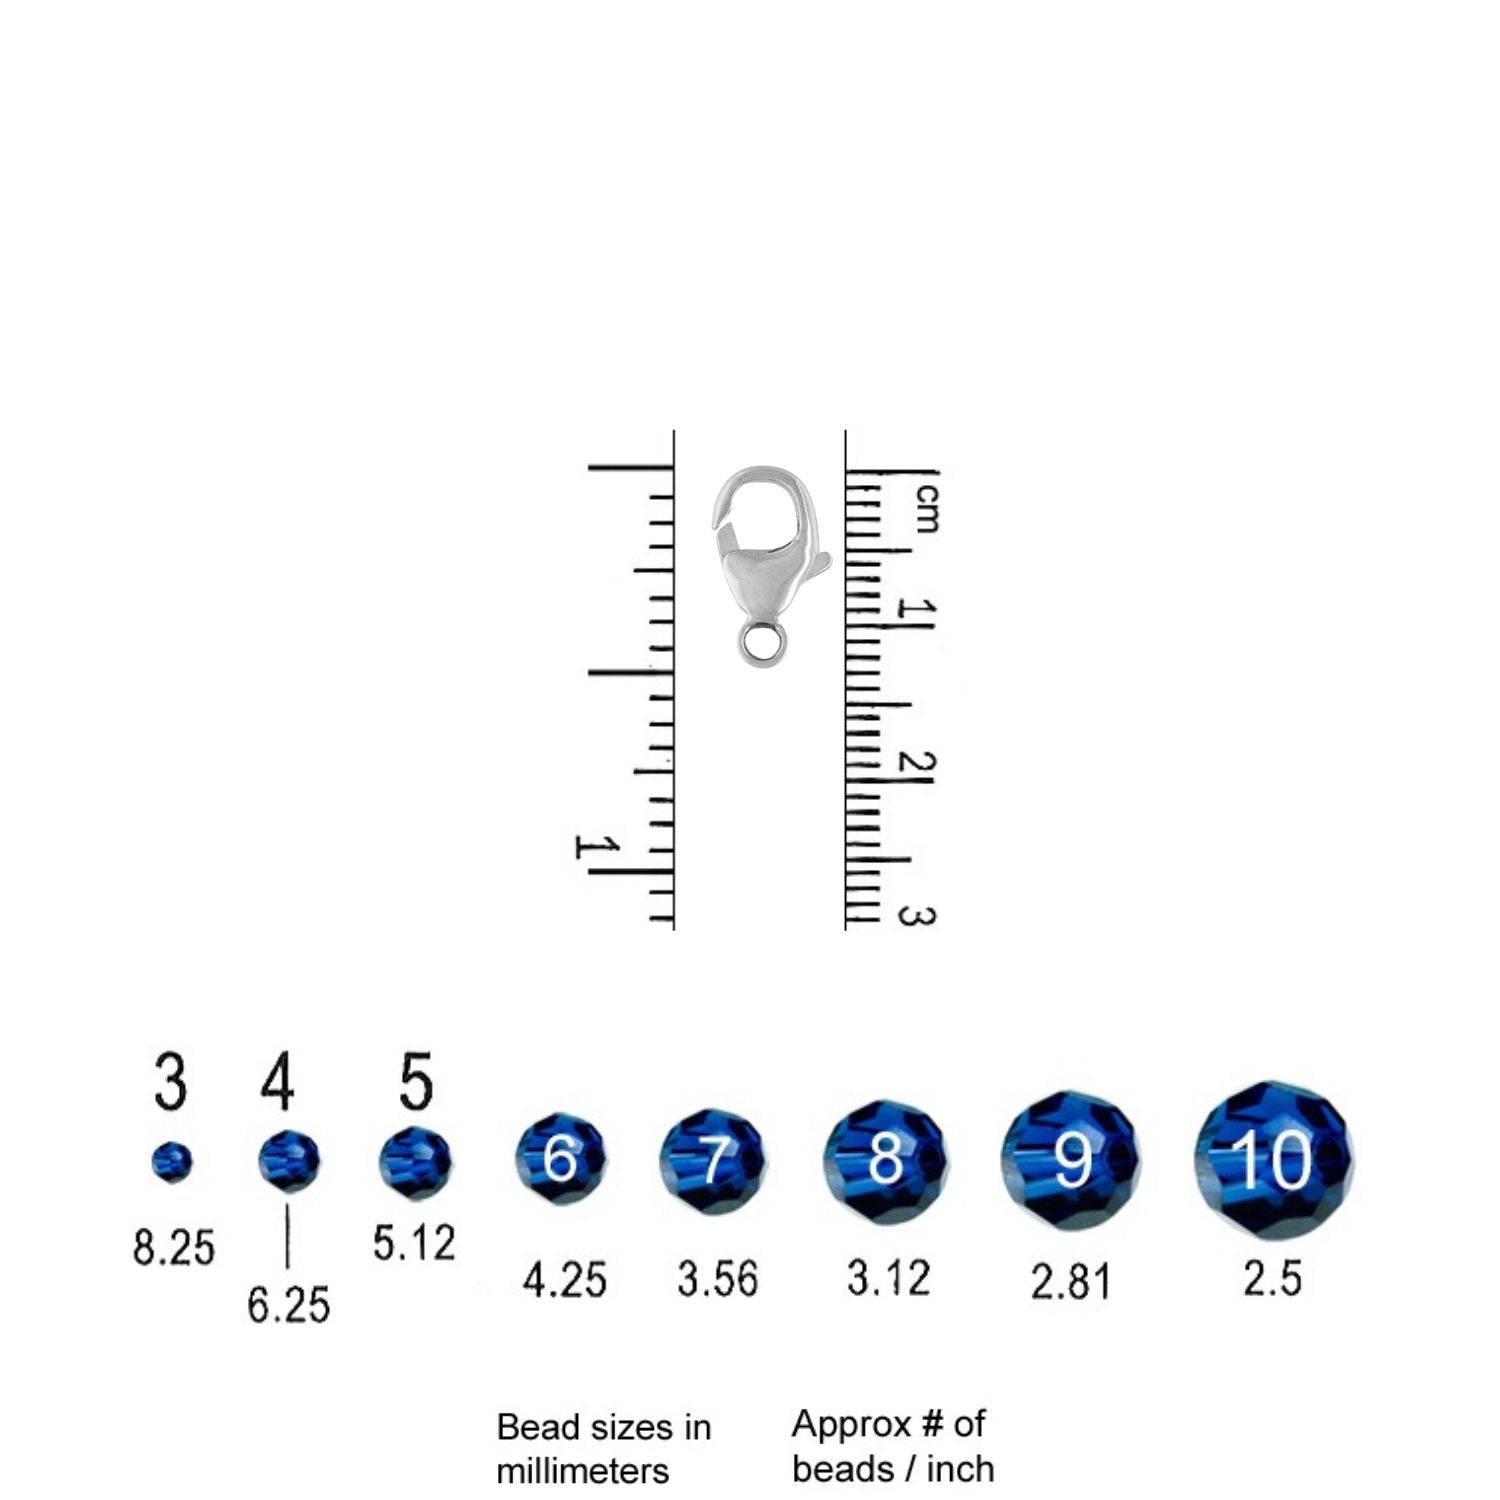
Create your own delicate and elegant bracelet with the Too cute Beads Petite Infinity Bracelet Kit! This ...
